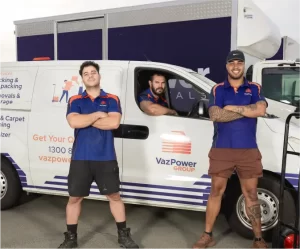
Introduction
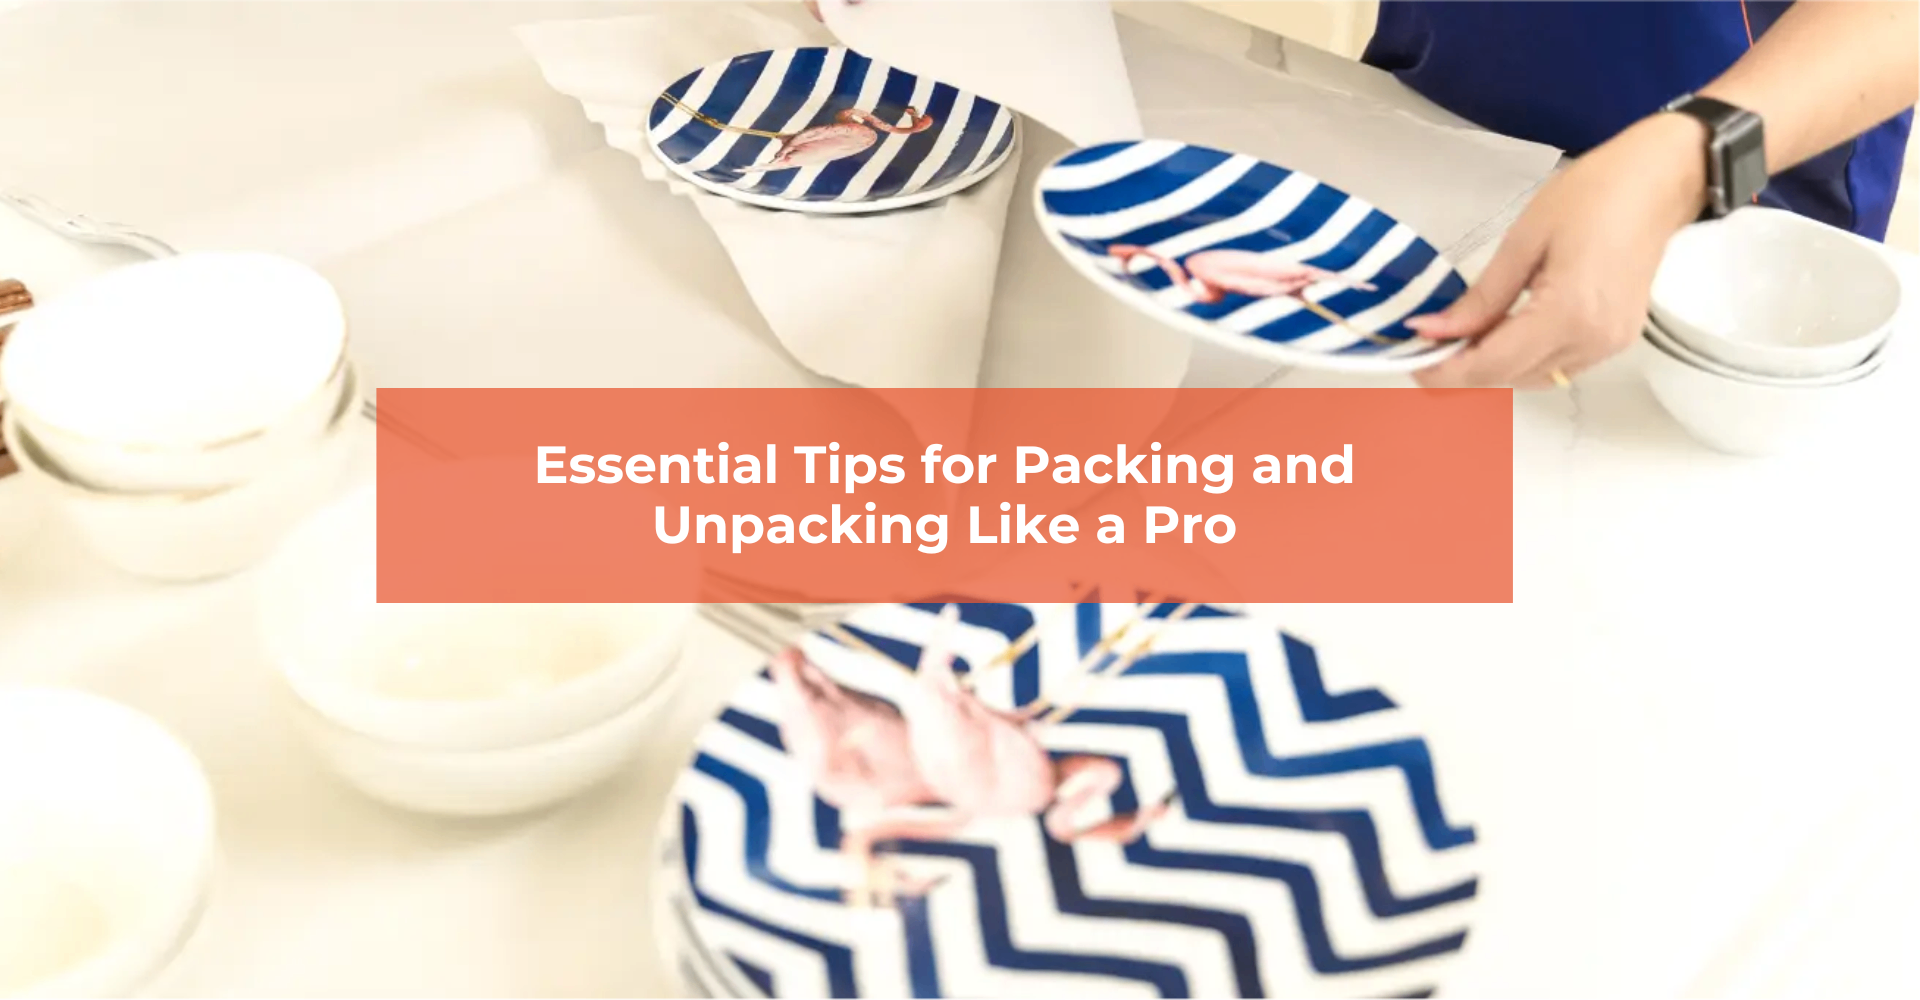
Moving to a new home is an exciting chapter, but the moving process itself can feel overwhelming. Once the packing is done, you face the challenge of unpacking in an unfamiliar space. The last thing you want is to waste hours digging through a mountain of identical boxes. This is where a smart labeling strategy comes in. When you label boxes correctly, you transform a potentially chaotic task into a smooth, organized transition, helping you settle into your new home with ease and less stress.
Understanding the Importance of Proper Moving Box Labeling
Proper labeling is a simple step that makes a huge difference in the moving process. When your moving boxes are clearly marked, you can easily identify the contents and their designated room in your new house. This organized approach saves you valuable time and energy.
Imagine arriving at your new place and knowing exactly where everything is. A good labeling system, often paired with an inventory list, prevents the stressful guessing game. It’s the best way to ensure you can find your items easily after moving, making the entire experience much smoother.
Benefits of Organized Labeling for Your Move
Organized labeling is your secret weapon for a stress-free move. When each of your moving boxes has a clear label, you and your movers know exactly where it belongs in your new place. This eliminates confusion on moving day and ensures that kitchen boxes end up in the kitchen and bedroom boxes in the bedroom.
A great system involves more than just the room name. By including key details about the contents of the box and a unique box number, you create a roadmap for unpacking. You can quickly locate specific items without having to open every single container. This level of detail is how you can make unpacking faster and less stressful.
Ultimately, taking the time to implement organized labeling pays off immensely. It transforms the unpacking phase from a chaotic mess into a systematic, manageable task. You’ll feel more in control and can start enjoying your new home much sooner.
How Labeling Prevents Lost or Damaged Items
Clear labeling is crucial for protecting your belongings. When you mark boxes containing fragile items, you communicate the need for extra care to anyone handling them. Writing “FRAGILE” in large, bold letters on multiple sides is the first step to preventing damage.
Furthermore, your moving box labels can include specific handling instructions. Phrases like “THIS SIDE UP” or “TOP LOAD ONLY” guide movers on how to safely transport and stack your possessions. This simple communication ensures your delicate glassware, electronics, and keepsakes are treated with the respect they deserve.
A comprehensive labeling system also helps prevent items from getting lost. By numbering each box and keeping a corresponding inventory, you can quickly verify that everything has arrived safely at your destination. If a box does go missing, you’ll know exactly what was inside, which is vital for insurance purposes.
Impact on Unpacking and Settling In Quickly
A solid labeling strategy has a massive impact on your unpacking process. When boxes are labeled with their destination room, they can be placed in the correct location from the start. This saves you the effort of moving heavy boxes around your new space later.
Labeling also allows you to prioritize. You can mark boxes with essential or immediate-need items as high priority. By labeling a box “OPEN FIRST” or “ESSENTIALS,” you ensure that items like toiletries, a change of clothes, and your coffee maker are easily accessible on your first day. These are the things you’ll need before you’re ready to tackle the bulk of the unpacking.
This organized approach helps you settle in more quickly and with less chaos. Instead of being surrounded by a sea of unidentified boxes, you have a clear plan. You can unpack room by room, starting with the most important items, making your new house feel like a home from day one.
Essential Supplies Needed to Label Moving Boxes
To label boxes effectively, you need a few essential supplies. Having the right tools on hand from the beginning will make the packing and labeling process much more efficient. Think of it as creating your own moving toolkit.
At a minimum, you’ll need good-quality markers, labels or stickers, and durable tape. Gathering these items before you start packing your moving boxes ensures you can create a consistent and clear system from the very first box. Let’s look at the specific types of supplies that work best.
Choosing the Right Markers and Labels
Selecting the right tools is the foundation of a great labeling system. A high-quality permanent marker is non-negotiable. Choose one with bold, waterproof ink that won’t smudge or fade during transit. This ensures your writing remains legible no matter the weather or handling.
In addition to markers, consider using pre-printed moving box labels. These often have dedicated spaces for the room name, contents, and box number, which helps keep your information neat and consistent. You can also use colored tape or stickers as a quick visual cue for different rooms.
Whether you write the contents directly on the box or use a numbering system is a personal choice, but many people find a combination works best. You can write the general contents and use a number that corresponds to a more detailed master list. Here are some top supply choices:
- Bold Permanent Markers: Use black or colored permanent markers for clear, waterproof writing.
- Printed Labels: Self-adhesive labels provide a structured format for information.
- Colored Tape/Stickers: Assign a color to each room for instant identification.
Selecting Tape, Stickers, and Other Tools
Beyond markers and basic labels, other tools can enhance your labeling strategy. Strong packing tape is essential for sealing boxes securely, but don’t forget the value of colored tape. Assigning a different color to each room allows for at-a-glance sorting when the moving truck is unloaded.
Brightly colored stickers can serve a similar purpose, especially for marking special boxes. Use star-shaped stickers for “OPEN FIRST” boxes or red “FRAGILE” stickers to call attention to delicate items. You should also have clear packing tape on hand to place over your handwritten labels, protecting them from moisture and scuffs.
These simple tools make a big difference in organization. Some people even use digital tools like moving apps to complement their physical labeling, creating a comprehensive tracking system.
|
Tool |
Purpose |
|---|---|
|
Durable Packing Tape |
To securely seal all cardboard boxes. |
|
Colored Tape |
To assign a color to each room for easy sorting. |
|
“Fragile” Stickers |
To clearly identify boxes needing extra care. |
|
“Open First” Stickers |
To mark essential boxes for immediate access. |
|
Clear Packing Tape |
To protect handwritten labels from damage. |
Recommended Apps and Digital Tools for Tracking Boxes
In today’s digital age, there are many apps and tools that can help with labeling and tracking your boxes. A dedicated moving app can serve as your digital master inventory, allowing you to log the contents of each box, take photos, and even generate QR codes for labels.
Using an app simplifies the process of creating a master list. Instead of a physical notebook, your inventory is on your phone, making it easily searchable and shareable. When you need to find your coffee maker, you can just search the app instead of digging through your notes.
These digital solutions are perfect for staying organized, especially during a large move. They give you a centralized, portable system for tracking everything you own. Some popular options include:
- Sortly: An inventory app that lets you create a visual inventory with photos and QR codes.
- Moving Organizer: A simple app for logging box contents and tracking their status.
- Google Sheets/Excel: A versatile option for creating a customizable spreadsheet to use as your master list.
Identifying the Best Labeling System for Your Move
Choosing the right labeling system is key to an organized move. There isn’t a single “best” method; the ideal system depends on your personal preference and the complexity of your move. The most common approaches involve using a color code, a box number system, or writing contents directly on the moving boxes.
Many people find that a combination of these methods works best for organizing moving boxes by room. By using colors for rooms, numbers for tracking, and a brief content description, you create a multi-layered system that is both easy for movers to follow and useful for you during unpacking.
Color Coding Methods for Room Organization
The color code method is a popular and highly effective way to organize your move. The concept is simple: assign each room in your new home its own color. This visual system helps movers instantly recognize where each box belongs without having to read a single word.
To implement this, use bright colors of tape or markers on your boxes. For example, you could make all kitchen boxes green, all living room boxes blue, and all master bedroom boxes red. At your new home, place a corresponding colored marker or piece of tape on the doorway of each room.
This system streamlines the unloading process dramatically. Your movers can work faster and more accurately, and you’ll avoid a pile-up of boxes in your entryway. Here are a few tips for an effective color code:
- Choose distinct, bright colors that are easy to tell apart.
- Create a chart with the color assignments and post it at the entrance of both your old and new homes.
- Use colored tape on at least two sides of the box for high visibility.
- Ensure every box gets a color, even miscellaneous ones.
Numbering Boxes for Inventory Tracking
Numbering every box is one of the smartest things you can do for a big move. Assign each box a unique number, starting from 1 and continuing sequentially until the last box is packed. This box number becomes the primary identifier for tracking your belongings.
Once a box is numbered, you record it in a master inventory list. Next to the box number, you’ll note the destination room and a detailed summary of its contents. This list becomes your single source of truth for everything you’ve packed. It’s an invaluable tool for locating specific items without opening dozens of boxes.
This system is also crucial for security. If a box were to go missing during the move, your detailed inventory list provides an exact record of what was lost, which is essential for filing insurance claims. While it takes extra time upfront, a numbering system offers unparalleled peace of mind and organization.
Writing Contents vs. Using Codes on Boxes
When labeling, you face a choice: write a detailed list of contents on the outside or use a more discreet code system. Writing the contents of the box directly on the label is fast and straightforward. You can see at a glance what’s inside, which can be helpful during unpacking.
However, listing valuable items on the outside can be a security risk. For this reason, many people prefer a numbering system. You still label the box with the name of the room and mark it if it’s high priority, but for the contents, you rely on your private master inventory list that corresponds to the box number.
For special boxes containing valuable or sensitive items like electronics or important documents, using a code is the safest approach. You can write something generic like “Office Supplies” while your private list specifies “Laptop and Hard Drives.” This gives you the organization you need without advertising the box’s value.
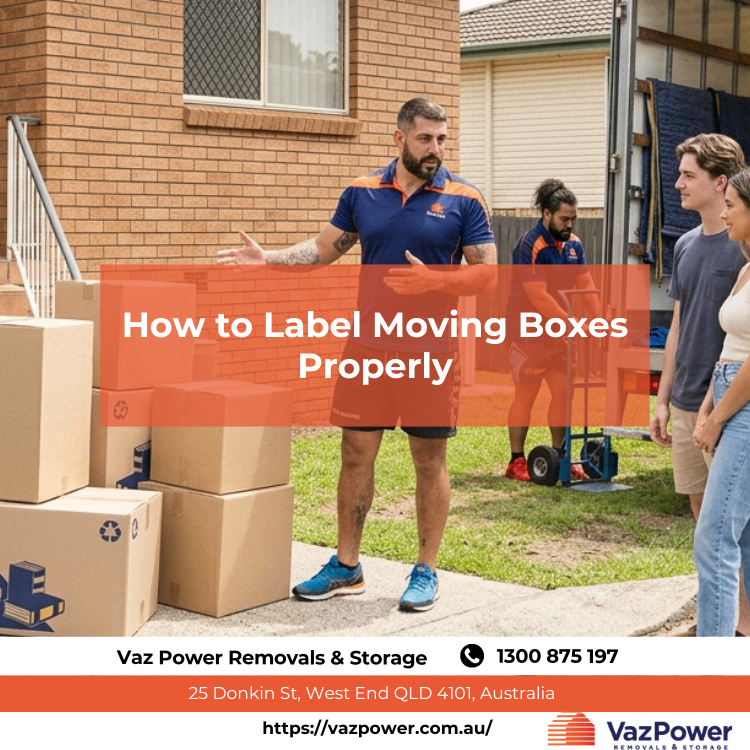
Step-by-Step Guide to Label Moving Boxes Properly
Now that you understand the principles, let’s walk through the step-by-step process of creating perfect moving box labels. Following a consistent procedure during your packing process will ensure that no detail is missed and that each box is ready for a smooth transition to your new home.
This guide will break down how to label boxes from start to finish. By following these steps, you’ll create a clear, organized system that will make finding your items a breeze and help you settle in faster.
Step 1: Group Items by Room and Category
The first step in an efficient packing process is to tackle one room at a time. Before you even start packing, group similar items together within that room. For example, in the kitchen, gather all your small appliances, group your pots and pans, and collect all your glassware.
This method of sorting by category makes packing logical and efficient. You can fill boxes with items that belong together, which simplifies both labeling and unpacking. Packing similar items also helps you gauge the right box size and packing material needed for each group.
This initial step of room organization is the foundation for a successful move. It ensures that when you unpack, you’re not hunting through a box of random items to find what you need. Instead, everything is logically grouped, making it easy to put things away in their new designated spots.
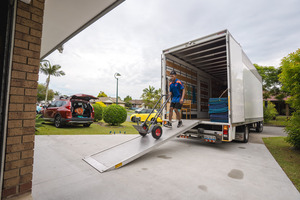
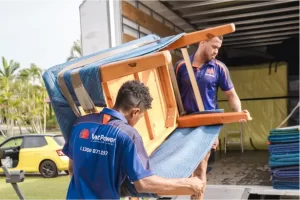
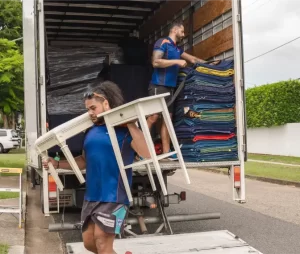
Step 2: Pack and Seal Boxes Securely
Once your items are grouped, it’s time to pack. Use sturdy cardboard boxes that are in good condition. Place heavier items at the bottom of the box and lighter items on top to maintain balance and prevent crushing. Don’t overfill your boxes; a packed box should be a weight you can comfortably lift.
Use proper packing materials like packing paper or bubble wrap to protect your belongings. Fill any empty spaces within the box with crumpled paper to prevent items from shifting during transport. This is especially important for boxes containing fragile or heavy items that could be damaged easily.
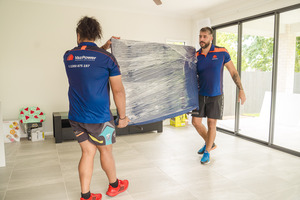
After a box is packed, seal it securely with strong packing tape. Apply tape across the center seam and then along the side seams to create a solid seal. A well-packed and sealed box is the first line of defense in protecting your possessions during the move.
Step 3: Apply Color Codes and Write Room Names
With your box sealed, it’s time to label it. If you’re using a color code system, apply the appropriate colored tape or use a colored marker on the box. This visual cue is the fastest way for movers to identify the box’s destination.
Next, write the name of the room in large, clear letters. Even if you’re using colors, having the room name written out is a great backup and eliminates any potential confusion. Write this information on the top and at least two sides of the box.
This combination of color and text is a powerful labeling strategy. It ensures that no matter how the box is stacked or carried, its destination is always visible. Taking a moment to label boxes this way will save a significant amount of time and effort on moving day.
Step 4: Note Essential or Immediate-Need Items
As you pack, identify the essential items you’ll need on your first day in the new home. These are the things that will make your first 24 hours comfortable, like toiletries, medications, a change of clothes, and your coffee maker. Pack these items together in one or more dedicated boxes.
These boxes should be designated as high priority. Mark them clearly with “OPEN FIRST” or “ESSENTIALS” in large, bold letters on all sides. You can also use brightly colored tape or stickers to make them stand out from the rest of your boxes.
The goal is to be able to locate these crucial items instantly upon arrival, without having to search. Having a well-marked essentials box means you can easily make a cup of coffee, take a shower, and change into comfortable clothes after a long day of moving.
Step 5: Mark Fragile Items for Careful Handling
For boxes containing fragile items, clear and prominent labeling is critical. Write “FRAGILE” in big letters on every side of the box. You can also add phrases like “HANDLE WITH CARE” or draw arrows indicating “THIS SIDE UP” to provide further instruction.
Use a bright color, like a red marker, to make these warnings impossible to miss. This signals to movers that the contents require extra care. Your goal is to communicate the need for gentle handling as clearly as possible to prevent breakage.
For particularly valuable items or important documents, you might consider transporting them yourself. However, for all other fragile belongings packed in boxes, bold labeling is your best tool for ensuring they arrive at your new home in one piece. This simple step is key to protecting your cherished possessions.
Step 6: Record Box Numbers in an Inventory List
The final step in the labeling process is to assign a unique box number. Write this number on the same sides of the box where you’ve put the other information. This number will be the key to your entire tracking system.
Once numbered, record the box in your master inventory list. Next to the box number, write down the destination room and a brief but specific description of the contents. For example, instead of just “Kitchen,” write “Kitchen: pots, pans, mixing bowls.”
This master inventory list is your command center for the move. It allows you to know exactly what is in each box and where it is supposed to go. At your new location, you can use this list to check that all your boxes have arrived safely and to prioritize your unpacking sequence.
Tips for Making Unpacking Easier in Brisbane, Queensland
Once the moving truck has arrived at your new house in Brisbane, the unpacking process begins. The work you put into labeling will now pay off significantly. Good labeling is the single most effective way to make unpacking faster and less stressful.
To further streamline this final stage, there are a few simple tricks you can use. These tips, combined with your excellent labeling, will help you transition from a house full of boxes to a comfortable, organized home in record time, even after a long day dealing with moving companies.
Placing Labels on Multiple Sides for Quick Identification
One of the simplest yet most effective labeling tips is to place labels on multiple sides of the box. Aim to label the top and at least two adjacent sides. This is arguably the best way to ensure your labels are always visible.
Think about how boxes are stacked in a moving truck or in a room in your new house. You can’t predict which side will be facing out. When you label boxes on multiple faces, you or your movers can quickly identify the contents and destination room without having to turn or unstack them.
This small detail makes a huge difference in efficiency. It saves time during both the loading and unloading process and reduces frustration when you’re trying to find a specific box in a room full of them. It’s a low-effort trick with a high-impact reward.
Planning Priority Boxes for Fast Access
As discussed earlier, creating priority boxes is essential. These are the boxes you’ll open immediately upon arrival. Clearly marking them as high priority ensures they are easy to find and are often the last boxes loaded onto the truck, making them the first ones off.
Your priority boxes should contain everything you need for the first 24 hours. This includes toiletries, medications, a few basic cleaning supplies like paper towels, your phone charger, and maybe a pot and pan. Think about what you’d need to be comfortable without having to start the main unpacking process.
By planning and clearly labeling these priority boxes, you set yourself up for a much more pleasant first night in your new home. Instead of a frantic search for a toothbrush or a clean towel, you can easily access your essentials and relax after a long moving day.
Avoiding Common Mistakes in Box Labeling
Even with the best intentions, it’s easy to make common mistakes when labeling. One of the biggest errors is not being specific enough. A label that just says “Bedroom” isn’t very helpful when you’re looking for your sheets.
Another frequent mistake is only labeling one side of the box. This almost guarantees the label will be hidden when the box is stacked. Procrastination is also a problem; waiting to label a batch of boxes at once can lead to forgetting what’s inside each one.
Avoiding these pitfalls is crucial for an organized move. A little extra diligence during the packing and labeling phase will ensure your belongings end up in the right place and that you can find what you need, when you need it. Common mistakes include:
- Vague Labeling: Not providing enough detail about the contents.
- Inconsistent System: Switching between labeling methods halfway through.
- Not Protecting Labels: Failing to use waterproof markers or clear tape, leading to smudged or torn labels.
- Forgetting an Inventory List: Skipping this step makes it impossible to track items for insurance purposes.
Conclusion
In conclusion, labeling your moving boxes properly is the key to a smooth and efficient moving experience. By taking the time to organize, color-code, and mark essential items, you not only minimize the risk of lost or damaged belongings but also make unpacking a breeze. Implementing a thoughtful labeling system ensures that you can easily locate what you need when you arrive at your new home, allowing for a seamless transition. Whether you’re moving locally in Brisbane or further afield, a little extra effort in labeling can save you time and stress. For personalized advice and tips tailored to your move, don’t hesitate to get in touch with our team for a free consultation!
Frequently Asked Questions
What is the best way to label moving boxes for easy unpacking?
The best way to label boxes is to use a multi-faceted system. Write the destination room and a summary of contents on multiple sides of the box. Use a color-coding system for quick room identification and number each box to correspond with a detailed inventory list. This makes the unpacking process at your new place much faster.
Should I label moving boxes by room or item type?
You should label moving boxes by room name first and foremost. This helps movers place boxes in the correct location in your new house. Within that room label, you can then specify the item type (e.g., “KITCHEN – Glassware”) to make unpacking even more efficient during the moving process.
How do I label fragile items to ensure movers handle them with care?
To protect fragile items, label boxes with “FRAGILE” in large, red letters on all sides. Also, include handling instructions like “THIS SIDE UP.” Informing the moving companies about these specific boxes and noting them on your inventory list by box number ensures they receive the extra care they need.